Guide
Check a lid allowance
Check a removable lid by separating the base's outside size from the space you deliberately add.
Reviewed October 27, 2026
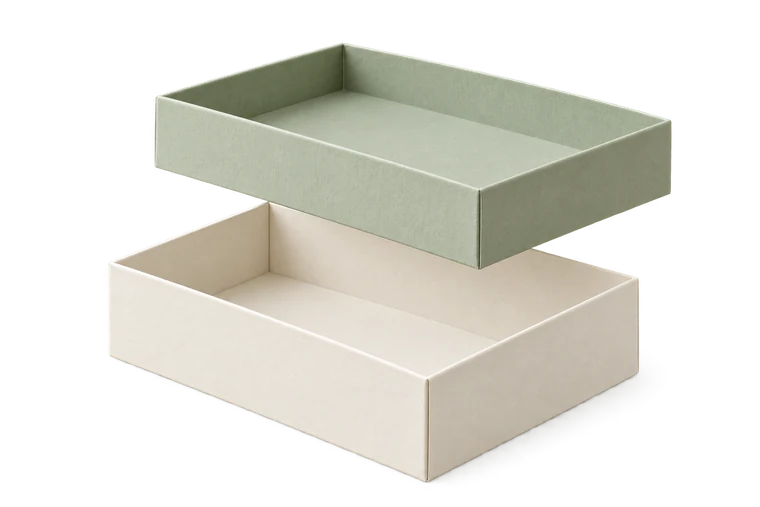
Establish the base first
Make the base or inspect a representative trial before tuning the lid. Confirm the print scale and the thickness input. If either is wrong, changing clearance may hide the problem for one sample while making another worse.
Keep the base's inside target fixed during the comparison. A lid allowance should alter the lid's opening, not silently resize the base.
Read the allowance per side
The example base inside is 100 × 70 mm. With 0.30 mm stock, the simplified outside estimate is 100.6 × 70.6 mm. A per-side clearance of 0.50 mm adds 1.00 mm to each full axis, giving a lid opening of 101.6 × 71.6 mm.
Increasing that per-side value to 0.80 mm adds another 0.60 mm to both lid length and lid width. Record whether your allowance is per side or total; confusing the two doubles or halves the intended gap.
Judge the assembled fit
Let glued corners settle, then lower the lid evenly. Check resistance on both axes and near all corners. A lid that rocks or binds only at one corner may reflect an assembly issue rather than an opening that is uniformly too small.
Try a small measured adjustment and save it as a separate version. A fit test applies to the stock and assembly you used. It does not establish a universal clearance for every paper thickness or box size.
Sources and methods
Ready to make something?
Set the dimensions. Check the folds. Make a small test box.