Guide
Assemble a two-piece box
Assemble the base and lid as separate trays, then check their relationship after the corners settle.
Reviewed October 27, 2026
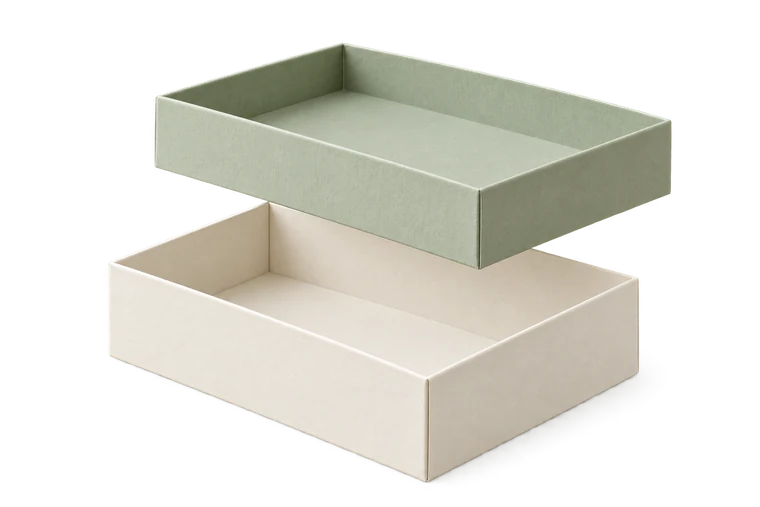
Two-piece box
Assembly
Base inside dimensions; wall heights from crease to cut edge
- Length
- 100 mm
- Width
- 70 mm
- Height
- 35 mm
- Lid wall height
- 20 mm
- Clearance per side
- 0.5 mm
Template 170.3 × 268.2 mm
Actual size · 100%
Measure the printed 100 mm ruler before cutting.
Measure the printed line, not the screen.
Identify the separate Base and Lid pieces.
Flat panel guide
Cut and score both outlines and their corner tabs.
Flat panel guide
Pre-fold the base walls and glue its corners square.
Folded assembly guide
Assemble the lid as a separate tray.
Folded assembly guide
Let both sets of joints settle before testing.
Folded assembly guide
Lower the lid evenly and adjust clearance only after checking scale and thickness.
Folded assembly guide
Cut: solid. Fold: dashed. Glue: hatched.
Keep Base and Lid separate
Find the named parts and their wall-height settings. A shallow lid can resemble a second base on the flat sheet, so preserve the labels until assembly is clear. Both parts have their own cut perimeter and corner tabs.
The example uses a 100 × 70 mm inside base, 35 mm base walls and 20 mm lid walls. Wall heights run from crease to cut edge. The lid opening is calculated separately from its wall depth.
Build two square parts
Cut and score each part. Fold all four walls and pre-fold its tabs without adhesive. Check the dry fit, then glue one corner at a time on a flat surface. Keep the base and lid individually square; one distorted corner can mimic an incorrect allowance.
Avoid testing a wet lid on a wet base. Pressure can move the joints or stick the two parts together. Let the bonds settle according to the adhesive you are using.
Try a gentle, even closing motion
Lower the lid evenly without forcing one side ahead of the other. If it binds uniformly, confirm print scale and material thickness before changing the per-side clearance. If only one corner catches, inspect the folds and overlap there.
Save a duplicate before adjusting the allowance. Record the stock and the observed fit. A successful sample supports that particular combination; the simplified thickness model does not account for every coating, grain direction or glue layer.
Sources and methods
Ready to make something?
Set the dimensions. Check the folds. Make a small test box.