Guide
Make a sleeve for a small object
Make a straight, open-ended band and test it around the complete object.
Reviewed October 27, 2026
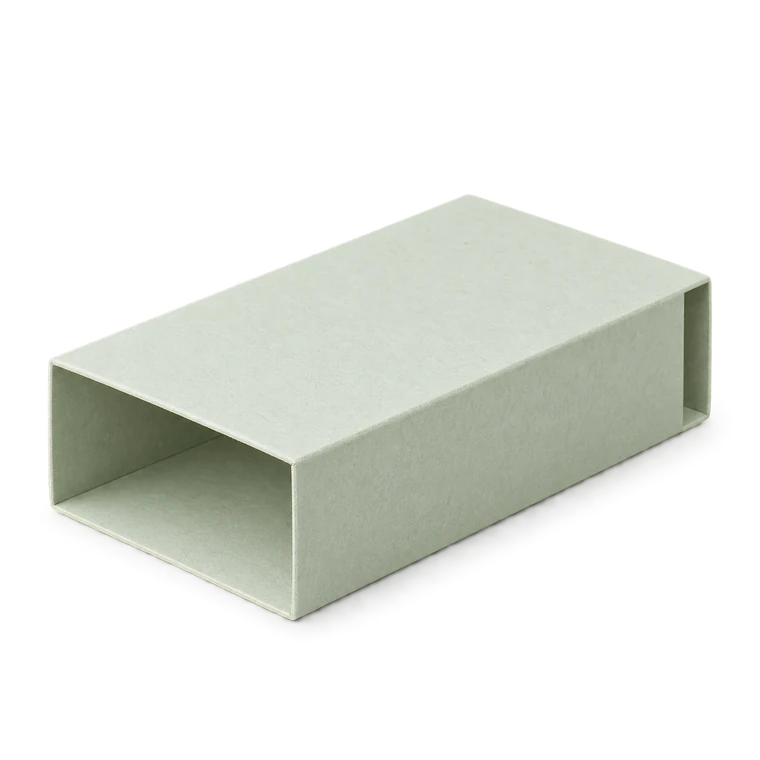
Sleeve
Assembly
Object measurements plus per-side clearance
- Object width
- 60 mm
- Object depth
- 20 mm
- Length
- 100 mm
- Clearance per side
- 0.5 mm
Template 175.2 × 100 mm
Actual size · 100%
Measure the printed 100 mm ruler before cutting.
Measure the printed line, not the screen.
Cut and score the four-panel band.
Flat panel guide
Dry-wrap the complete object and mark the intended front.
Folded assembly guide
Glue the seam tab while keeping both openings square.
Folded assembly guide
Let the seam settle, then check the object slides in and out.
Folded assembly guide
Cut: solid. Fold: dashed. Glue: hatched.
Choose section and covered length
Measure the object's width and depth at its widest relevant point. Include notebook covers, packaging folds or protective wrap. Decide how much of its length should remain visible outside the sleeve.
The 60 × 20 mm example uses 0.50 mm per-side clearance, producing a 61 × 21 mm target opening. Do not add the same allowance again to the object fields.
Pre-fold the panel band
Cut the continuous outline and score the long creases separating the four panels and seam tab. Wrap the dry band around the object or a square test form. Check the intended front face and seam location before applying adhesive.
Glue only the seam tab. Keep the overlap aligned along its full length; a seam that drifts diagonally creates a tapered opening. Do not attach end panels—the sleeve is intentionally open at both ends.
Check movement after the seam sets
Remove the test form if appropriate and allow the bond to settle. Slide the actual object in and out gently from both ends. Check corners and any thickness at the seam.
If it catches, first inspect print scale and local glue buildup. Increase the clearance only after the construction is square. Save the working sleeve dimensions and note the material, because changing paper can alter how readily the object slides.
Ready to make something?
Set the dimensions. Check the folds. Make a small test box.