Templates
Paper trays for desks and drawers
Plan several separate open trays for a measured surface or drawer.
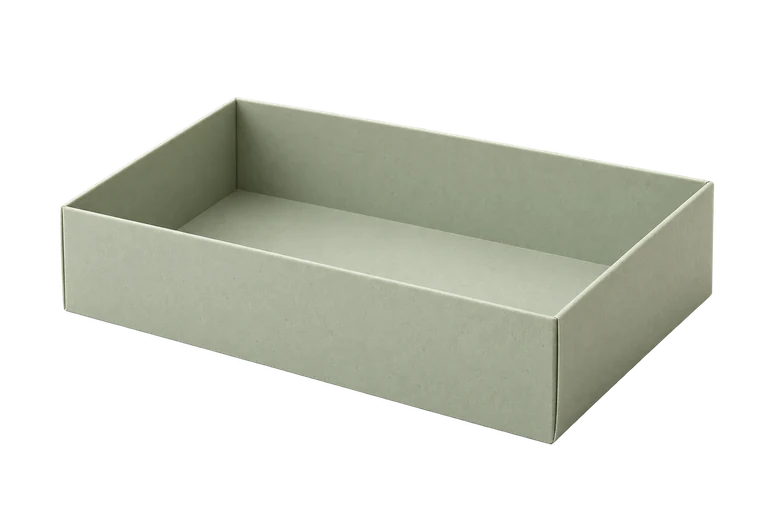
Open tray
An open top, four walls and simple corner tabs.
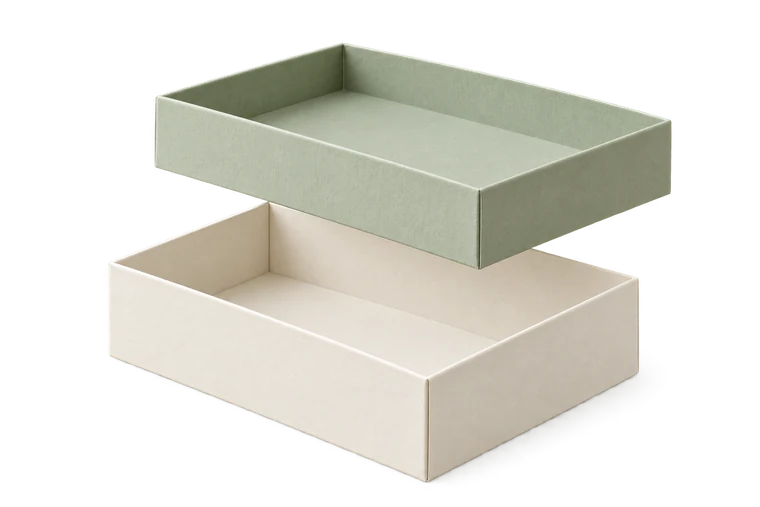
Two-piece box
A separate base and lid with adjustable clearance.
Measure usable space, not furniture labels
Open the drawer and measure the clear interior where the trays will sit. Check runners, rounded corners and the clearance under the drawer above. Leave room to lift each tray out; a perfect mathematical grid can be inconvenient to use.
The open-tray model uses fold-line base dimensions. Finished outside space depends on the wall construction and stock, so use a trial to check neighbouring trays before repeating a layout.
Work from a simple dimension record
On a sheet of paper, draw the available rectangle and divide it into purposeful groups: long tools, loose clips and wider notes. Give every tray a name and its own dimensions rather than repeatedly editing one unnamed project.
For example, two nominal 120 mm-wide footprints need more than 240 mm of usable drawer width once wall allowance and a removal gap are considered. Keep that gap visible in the plan.
Choose accessible walls
A shallow wall keeps small items visible and easier to remove. A taller wall may separate awkward shapes but uses more paper in the flat net. Check the paper preview before committing to a whole set. These paper trays are organisers, not structural dividers for heavy or sharp tools.