NOTES FROM THE WORKBENCH
Small gifts in pillow boxes
A pillow shape can suit a small gift, but its curved interior needs a trial around the actual object.
Reviewed October 27, 2026
Start with the object, not a volume
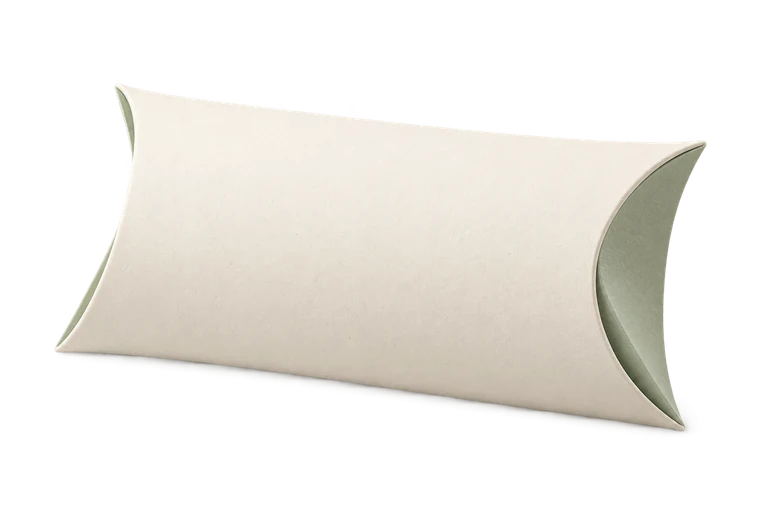
A pillow box bows outward as its curved ends close. Its usable space is neither a rectangular cuboid nor a simple product of the displayed panel dimensions. A rigid object can strike a sloping end even when its middle fits.
Small soft-wrapped contents can be more forgiving because their shape adapts slightly. A rigid square keepsake needs closer inspection. Do not rely on a claimed capacity that the geometric model does not define.
Read the flat controls
The example uses two 60 mm-wide panels, a 120 mm blank length, 12 mm end-curve depth and a 10 mm seam tab. These numbers describe the sheet and its folds. They do not mean that the finished inside is 60 × 120 × 12 mm.
Increasing curve depth changes the closure region and the bowing action. It does not create an independent, freely adjustable rectangular height.
Make one plain closure test
Print a trial, check scale and score the arcs gently. Form the tube and let the straight seam settle. Close one end before placing the wrapped gift inside, keeping any hard corners away from the closing arcs.
Try to close the second end without forcing it. If a curve buckles or springs open against the object, consider a different construction rather than repeatedly pressing the paper harder.
Know when a rectangular box is clearer
A tuck box or two-piece box gives a more explicit rectangular inside target and a different opening. Choose it when the object needs a predictable orientation or the pillow's shape makes removal awkward.
Once a trial works, record the stock and the object arrangement. Decorative illustrations can suggest the shape, but only the actual fold shows how that particular paper and object behave together.
Ready to make something?
Set the dimensions. Check the folds. Make a small test box.