Guide
Fold a simple tray
Fold a rectangular open tray while keeping its base flat and its four corners square.
Reviewed October 27, 2026
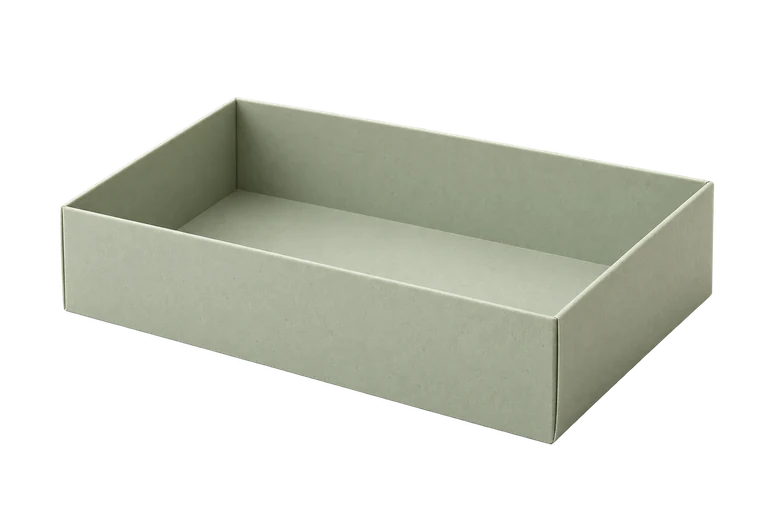
Open tray
Assembly
Dimensions between fold lines
- Length
- 220 mm
- Width
- 140 mm
- Height
- 40 mm
Template 300 × 220 mm
Actual size · 100%
Measure the printed 100 mm ruler before cutting.
Measure the printed line, not the screen.
Cut the continuous outside outline.
Flat panel guide
Score the four base folds and the corner-tab folds.
Flat panel guide
Pre-fold the walls upward and the corner tabs inward.
Folded assembly guide
Glue each tab to the adjoining wall while keeping the corner square.
Folded assembly guide
Let the joints settle, then check the base sits flat.
Folded assembly guide
Cut: solid. Fold: dashed. Glue: hatched.
Identify the parts
Find the base rectangle, four surrounding walls and corner glue tabs. The open-tray outline has no top closure or tuck tongue. The example base measures 220 × 140 mm between folds, with a 40 mm rise from crease to cut edge.
If the template is tiled, print and join the sheets before cutting. Check the ruler, page numbers and registration marks. A misaligned seam through the base can make the tray visibly skew.
Fold before gluing
Cut the outer outline and score all base and tab folds. Raise each wall once without glue to establish a controlled bend. Fold the corner tabs inward and bring the neighbouring walls against them.
Work on a flat surface. Bond one tab, hold the corner square and let it become stable. Move to the next corner without dragging the first out of position. Keep glue below the top rim and away from the base.
Check the final corner
Before the last bond sets, compare the two base diagonals and inspect the opposite walls. The tray should sit evenly rather than rocking on one corner. A wall that bows can indicate excessive tab overlap or a stressed fold.
Let the joints settle before loading the tray. For a drawer layout, put the trial in its intended position and test whether you can lift it out. The fold-line base dimension is not a promise of exact external fit with neighbouring trays.
Sources and methods
Ready to make something?
Set the dimensions. Check the folds. Make a small test box.