Guide
Assemble a tuck box
Form the four-wall tube first, then close its dust flaps and main tuck closures in order.
Reviewed October 27, 2026
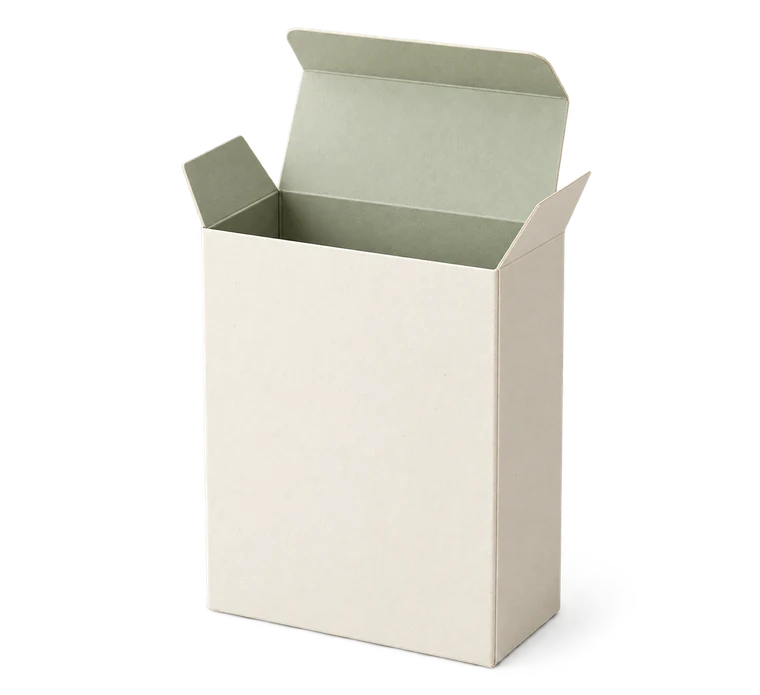
Tuck box
Assembly
Approximate inside dimensions
- Length
- 50 mm
- Width
- 30 mm
- Height
- 80 mm
Template 171.2 × 170.9 mm
Actual size · 100%
Measure the printed 100 mm ruler before cutting.
Measure the printed line, not the screen.
Cut the outer contour, including the seam and closure tabs.
Flat panel guide
Score the three folds between walls, the seam fold and the end folds.
Flat panel guide
Form the four-wall tube and glue the side seam.
Folded assembly guide
Fold the dust flaps inward at one end.
Folded assembly guide
Lower the main closure and insert its tuck tongue.
Folded assembly guide
Load the trial object, then close and check the other end.
Folded assembly guide
Cut: solid. Fold: dashed. Glue: hatched.
Read the strip before cutting
Identify the four alternating wall panels and the narrow seam tab. The wide main closure panels sit at opposite ends and on opposite wide faces. Smaller dust flaps close the side gaps; they do not replace the main panel.
Check which face will be the front if decoration matters. Light pencil marks on a plain trial are easier to correct than artwork on the final stock.
Score and join the side seam
Cut the continuous perimeter and score the straight folds. Pre-fold the seam tab and wall strip. Bring the first and last walls together around a square section, then apply adhesive only to the seam area.
Hold the tube without flattening it into a skewed shape. Check the broad and narrow faces against the intended object and let the seam settle before operating the end flaps.
Close one end, then load
Fold the small dust flaps inward, lower the main closure panel over them and insert the tongue along the inside face. Do not force a tongue that catches the opposite wall. Recheck score position, print scale and the tab-length limit.
With one end closed, insert the object and check removal as well as insertion. Close the second end in the same sequence. If the first trial is tight, record the material and adjust the relevant dimension rather than trimming a unique undocumented correction into every new copy.
Sources and methods
Ready to make something?
Set the dimensions. Check the folds. Make a small test box.